OurDance User Guide

Start practicing with your own dance videos. After importing a video, use the speed slider and fine speed control, mirror, zoom, drag, timeline navigation, Marker, Loop, Crop, and Apple Watch remote control to study movement more clearly.

1. Import a video Choose practice footage from Files or Photos.
2. Find the move Play, scrub the timeline, and use speed plus mirror to observe.
3. Repeat the hard part Add Markers, create Loops, and focus on difficult sections.
OurDance User Guide
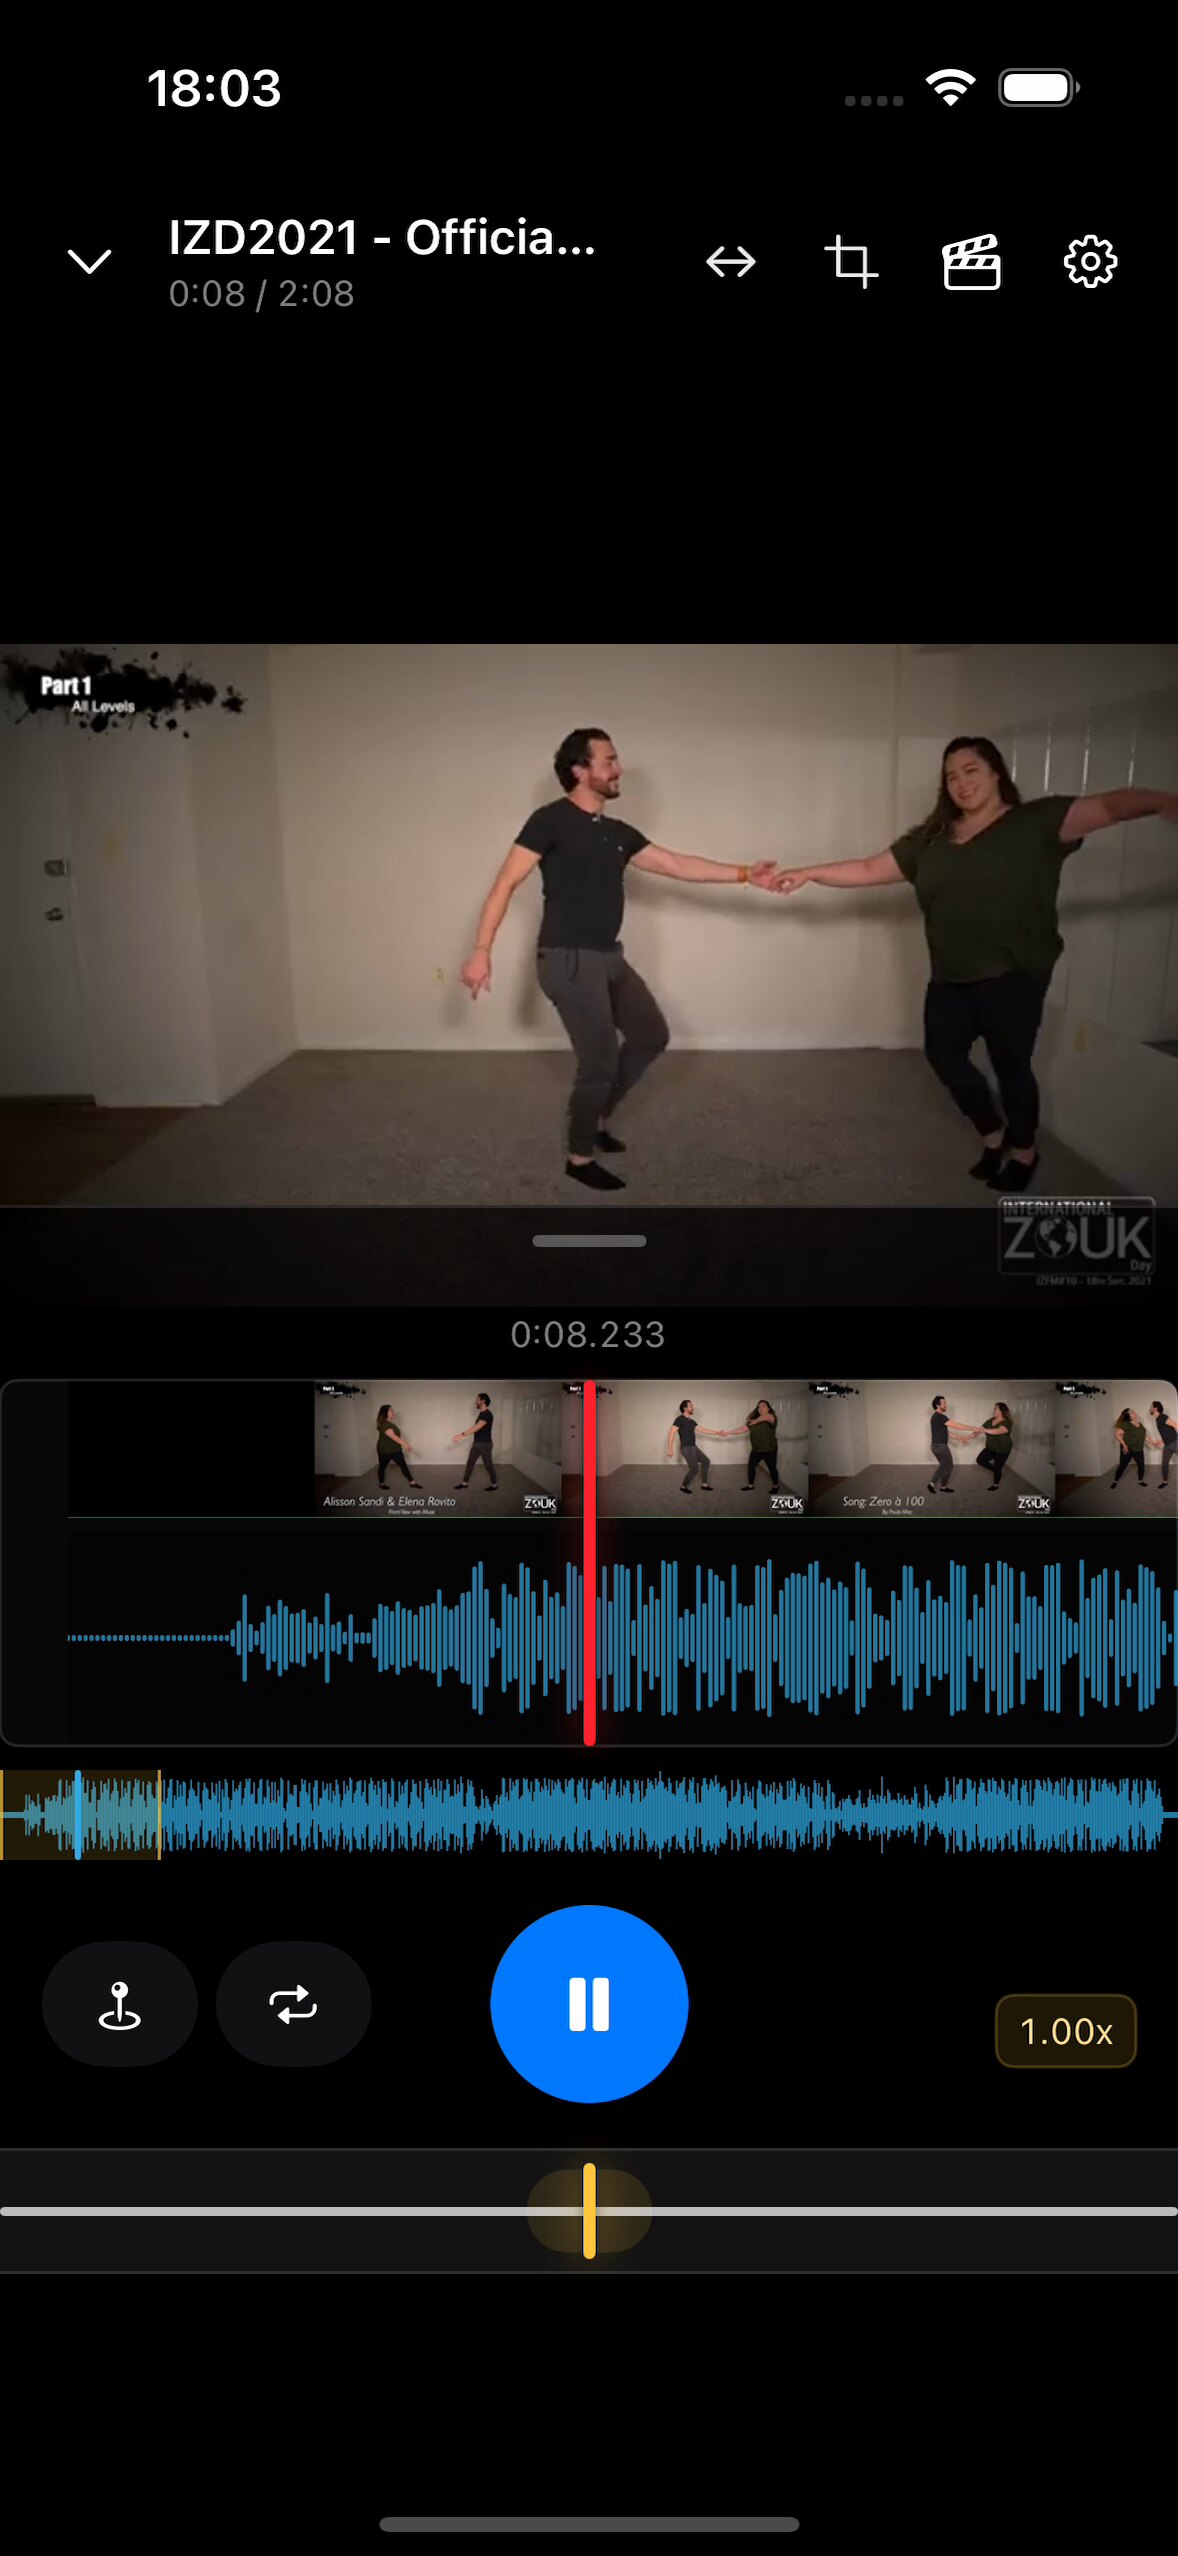
After a video is opened, the practice screen is organized around the video, timeline, and controls.

Quick start: first practice in 30 seconds

You do not need to understand every control before your first session. Follow these four steps to complete one small practice loop.

1

Choose a video

Import a dance video from Files or Photos. The app opens the main practice screen after import.

2

Play and locate

Tap play, then drag the timeline to find the move you want to learn. Thumbnails and waveform help you read sections.

3

See the details

Use the speed slider to slow down, mirror for direction, and zoom or drag to inspect feet, hands, weight, or formation.

4

Save the hard part

Use Marker for reminders and Loop to save a short section until the movement feels stable.
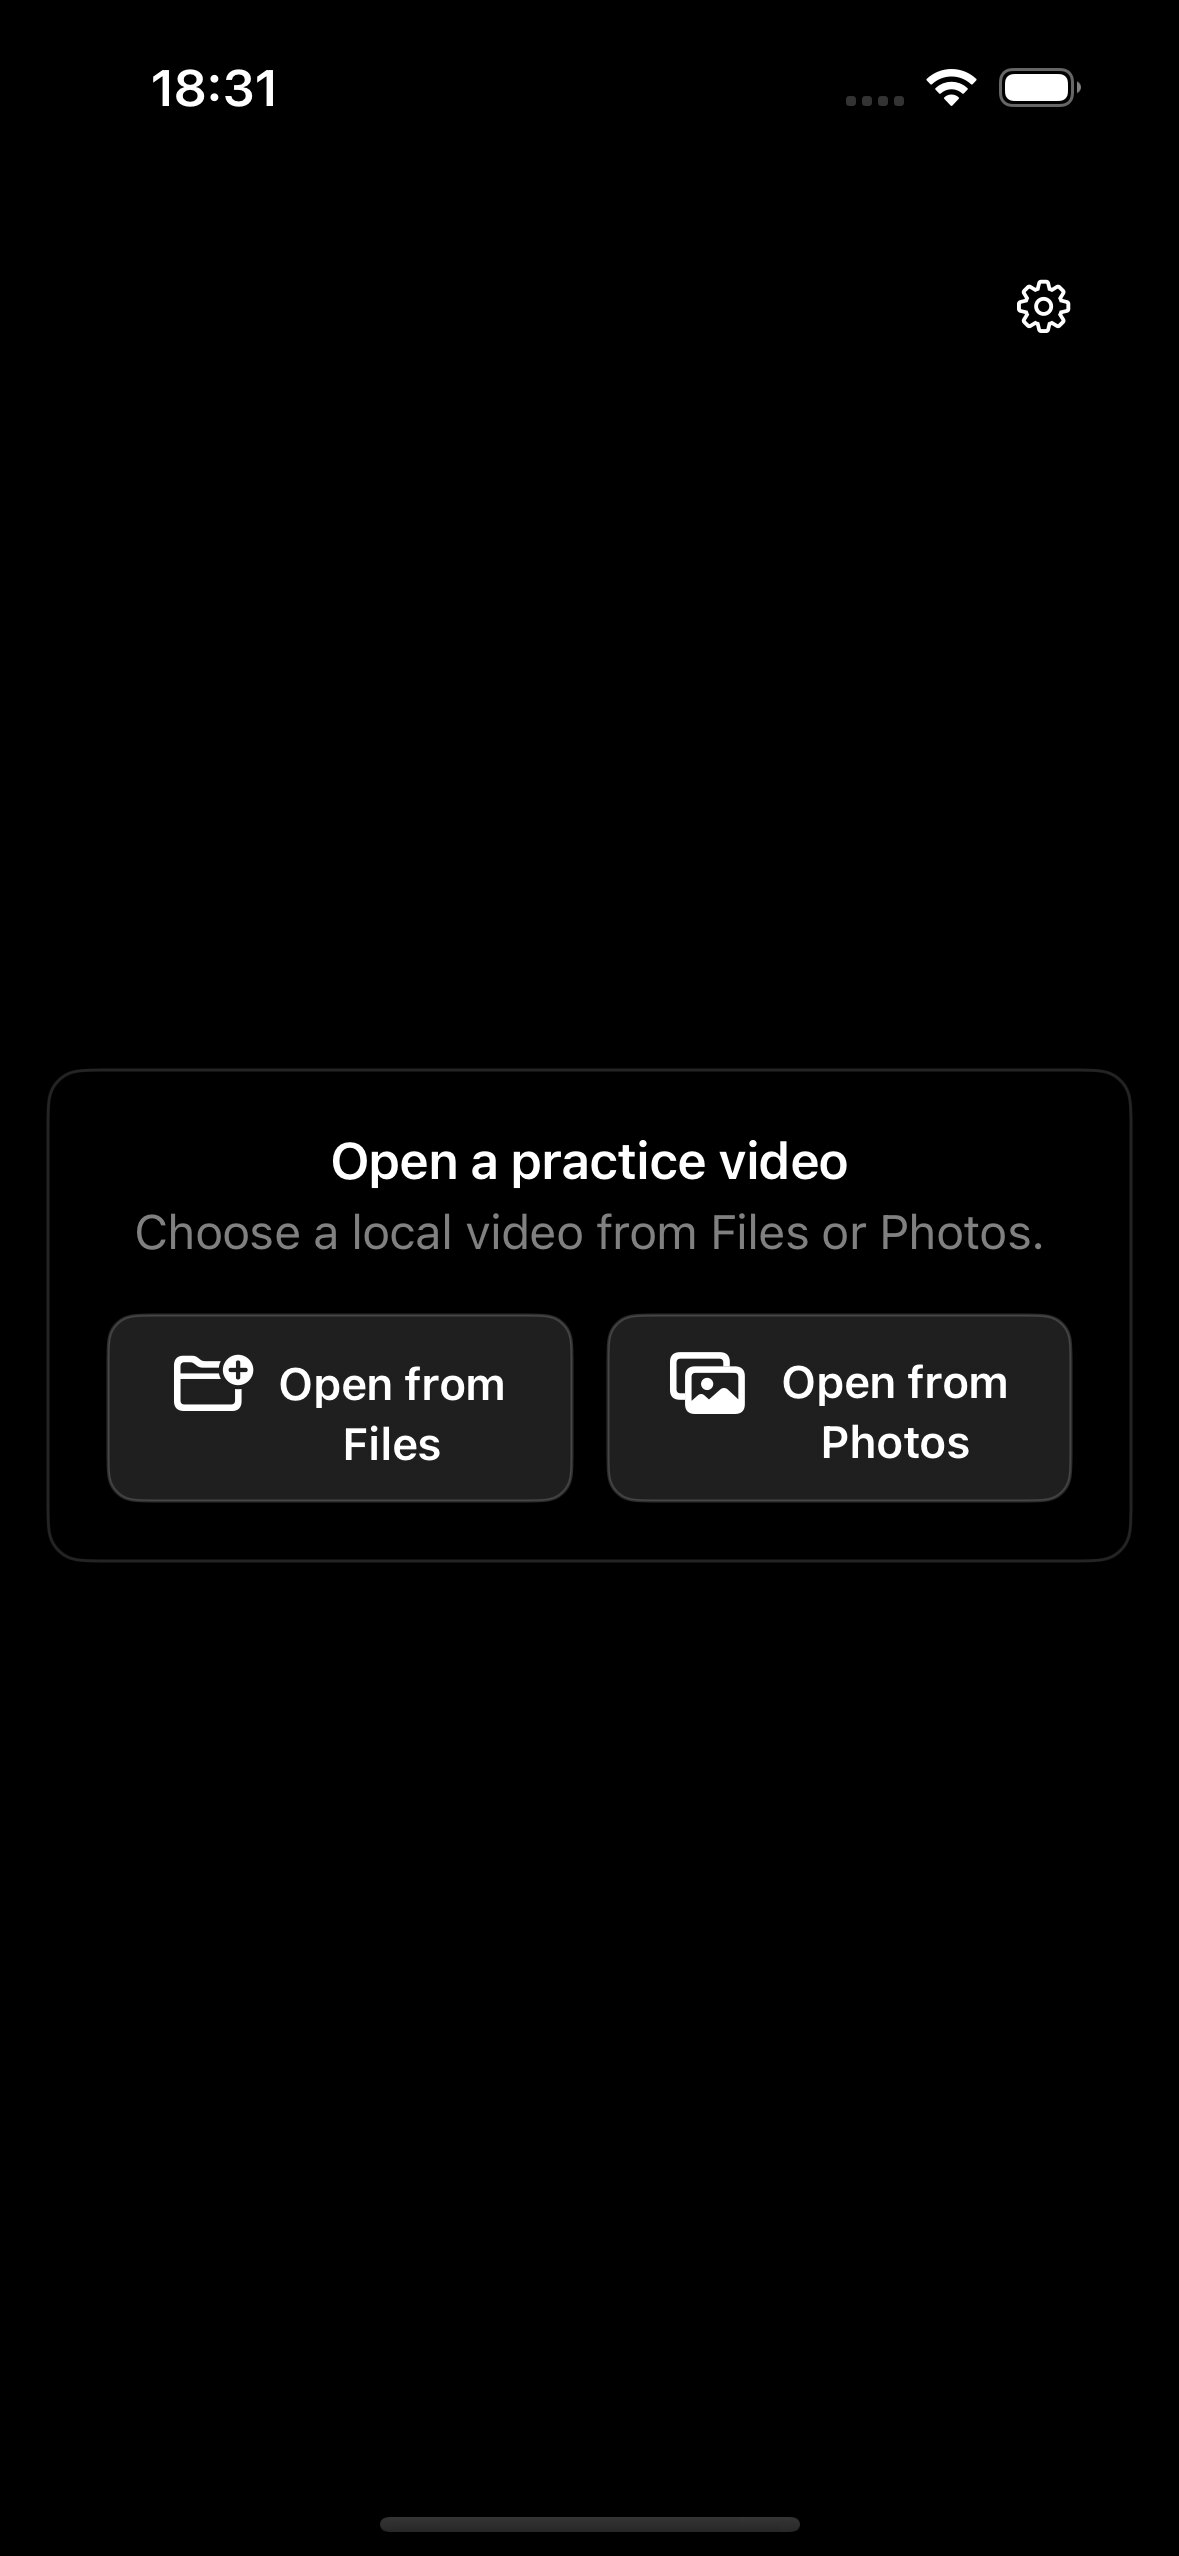
Empty: choose a practice video first.
Practicing: play, locate, and adjust the view.
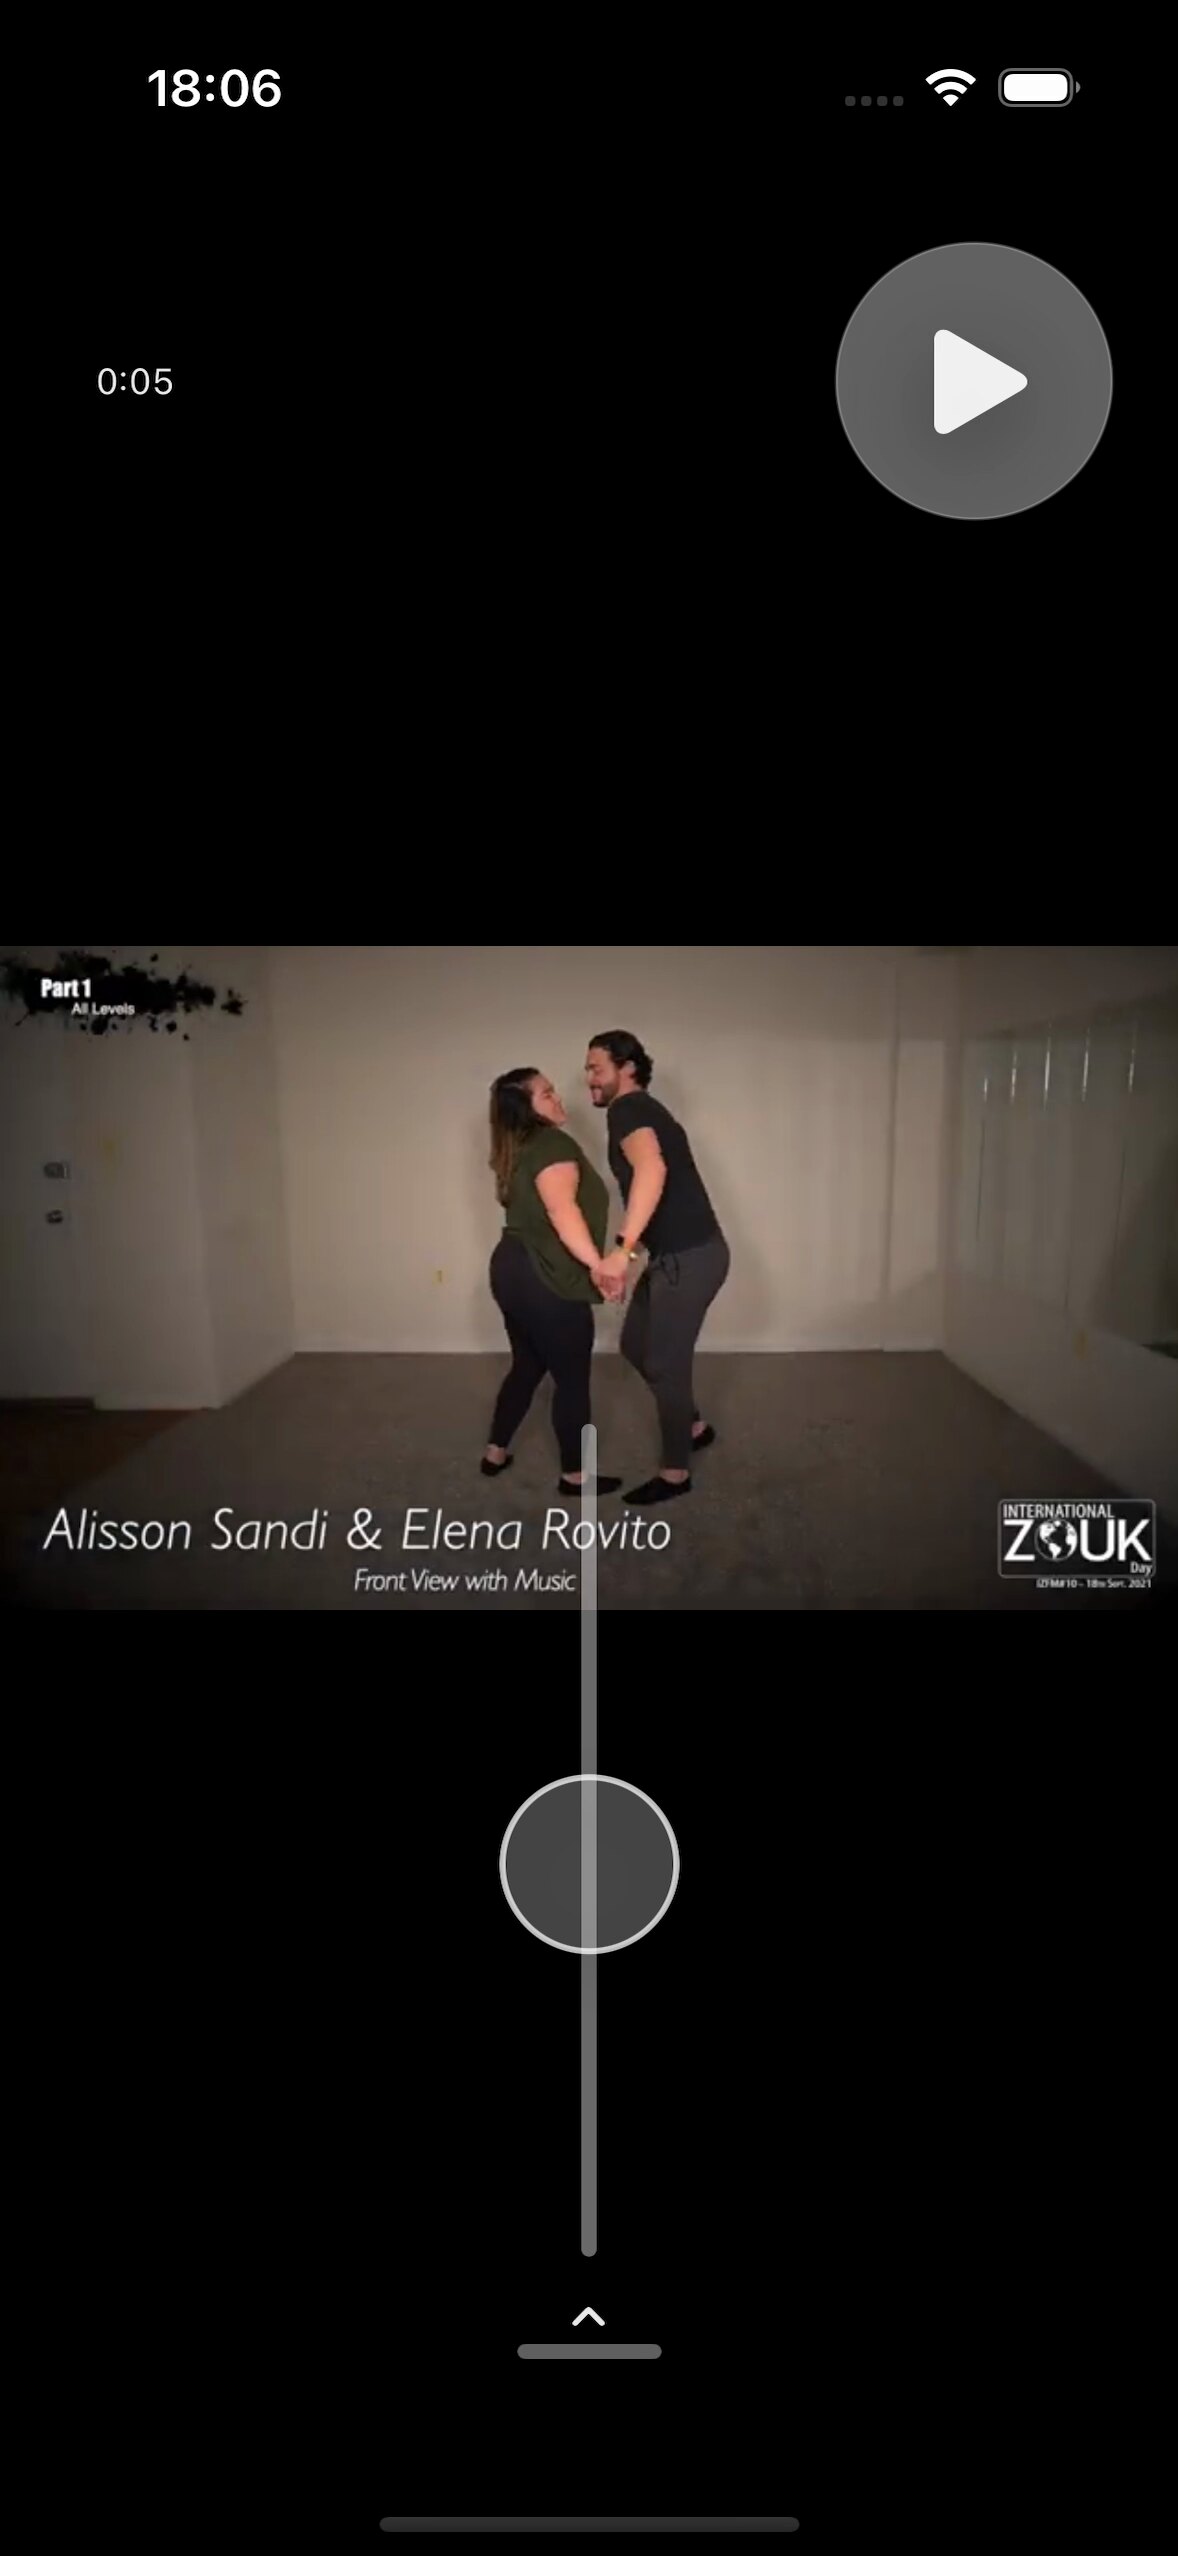
Focus view: temporarily hide the bottom controls.

Practice screen map

The main screen has four areas: top tools, video area, timeline, and bottom controls. Watch the video first, then use the timeline to locate movement. Mirror, Crop, File, and Settings are at the top; play, speed, Marker, and Loop are at the bottom.

OurDance main practice screen with area annotations Top: back/hide, video name, Mirror, Crop, File, Settings Video area: tap, zoom, drag, and watch movement Timeline: thumbnails, waveform, playhead, and loop window Controls: play/pause, Marker, Loop, current speed, speed slider
Blue: top information and tool entry points Green: video viewing area Purple: timeline positioning area Orange: bottom control area

Top tools

Confirm the current video and time, then use Mirror, Crop, File, and Settings. Mirror and Crop are top tools, not bottom controls.

Video area

Watch the movement. Tap to show or hide controls; after zooming, drag the video so the important area sits near the center.

Control area

Contains play/pause, Marker, Loop, current speed, speed slider, and the handle for hiding or restoring the panel. The speed slider is at the very bottom.

Timeline area

Thumbnails help you find movement by picture; waveform helps you find musical structure; the red playhead and Loop window help confirm exact timing.

Buttons and areas at a glance

This reference explains the most-used entry points on the practice screen. Skim the numbers first, then read the matching sections for steps.

OurDance practice screen with numbered button and area annotations
  1. 1 Hide controlsTap the top down arrow to hide the bottom control panel for focused viewing.
  2. 2 Video name and timeShows the current video, current time, and total duration.
  3. 3 MirrorFlip the video horizontally, useful when following a teacher facing the camera.
  4. 4 CropEnter crop mode and keep only the dancer or area you want to study.
  5. 5 FileOpen the video page to choose from Files, Photos, or recent videos.
  6. 6 SettingsOpen language, learning tips, and other practice preferences.
  7. 7 Video areaMain place for watching. You can zoom, drag, mirror, and crop to see details.
  8. 8 Collapse handleDrag the small bar downward to slide the bottom panel out of view.
  9. 9 TimelineThumbnails show the picture, waveform shows rhythm, and the red line is the current precise position.
  10. 10 MarkerAdd a time-point reminder for mistakes, teacher notes, or review points.
  11. 11 LoopTurn the nearby section into a repeatable practice segment.
  12. 12 Play / pauseControl playback. Often used together with timeline, speed slider, and Loop.
  13. 13 Current speedShows the current rate, such as 1.00x. It updates when speed changes.
  14. 14 Speed sliderDrag the yellow handle to change speed; long-press it for fine tuning.

Speed control: slow down with the bottom slider and fine tune

Speed is not limited to a few presets. It is controlled by a horizontal slider at the bottom of the screen. The yellow line is the current speed position; the label on the right shows the current playback rate.

OurDance User Guide
Drag the bottom speed slider. When the yellow handle moves, the rate label updates.

Coarse speed

  1. Tap or drag on the bottom speed slider.
  2. Drag left to slow down and break down timing.
  3. Drag right to speed up for quick review.

When to fine tune

If coarse dragging does not land on the rate you want, use the long-press fine-tuning dial below.

Read the position

The center is 1.00x. The left side covers 0.10x to 1.00x, and the right side covers 1.00x to 2.00x. Near 1.00x, it snaps back to normal speed.

Practice advice

When learning a move for the first time, try 0.60x to 0.80x, then return to 1.00x after the order is clear. Use Loop with slow playback for hard parts.
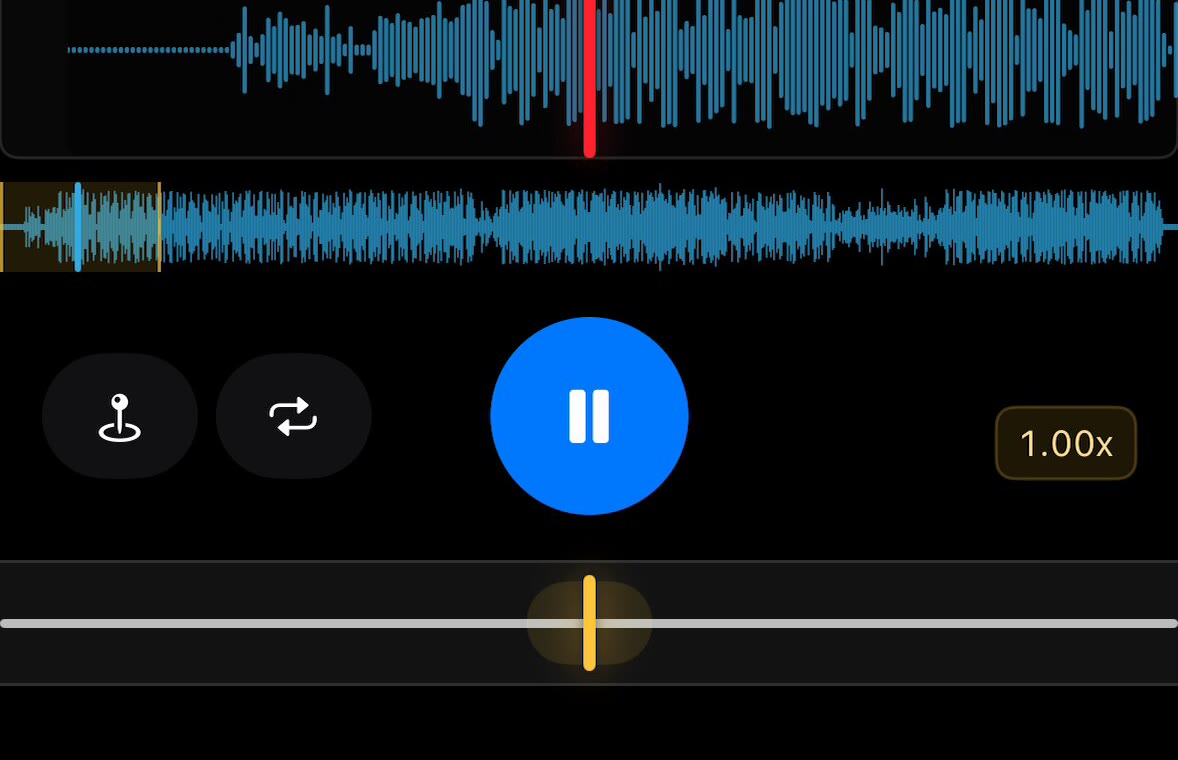
Zoomed bottom controls: the right label shows the rate, the bottom bar is the speed slider, and the yellow line is the current speed.
Left: slow 0.10x - 1.00x Center: normal 1.00x Right: fast 1.00x - 2.00x
OurDance User Guide
Long-press near the yellow line. When the fine-tuning dial appears, move slightly.

1. Long-press current position

Hold near the yellow line for about half a second. Do not move far before the dial appears.

2. Small movement

After the dial appears, drag lightly left or right to adjust in smaller steps.

3. Release to keep

When you release, the dial closes and the current speed remains active for playback, pause, or Loop.

4. Trigger position

Long-press close to the current yellow line. To jump far away, coarse-drag first, then long-press to fine tune.

See the movement clearly: mirror, zoom, and drag

After speed feels right, adjust mirror, zoom, and video position if the direction is reversed or details are hard to see. Then move on to Marker and Loop.

OurDance User Guide
Speed slider slows playback; mirror aligns following direction.

Slow playback and mirror

  1. Play the video and find the move.
  2. Use the speed slider to slow down and study weight, rhythm, hands, and feet.
  3. Turn on mirror so the on-screen direction is easier to follow.
OurDance User Guide
Use two fingers to zoom into feet, arms, or body weight.

Pinch to zoom

  1. Pinch outward in the video area to enlarge the part you want to see.
  2. Keep the view stable, then play or pause to observe.
  3. When you need the full picture, zoom back out or reset the view.
OurDance User Guide
Double-tap the video to quickly zoom in; double-tap again to return to the default view.

Double-tap quick zoom / reset

  1. Double-tap the video area when you want to inspect the dancer quickly.
  2. The view jumps to a fixed zoom level, useful for checking feet or hands immediately.
  3. Double-tap again when finished to return to the full view.
OurDance User Guide
After zooming, drag the video so the focus sits near the center.

Drag the view

  1. Zoom in first.
  2. Drag with one finger to move feet, hands, or formation into the center.
  3. Keep playing and confirm the important detail stays visible.

When should you adjust the view first?

  • The move is fast and the order is unclear.
  • The teacher faces the camera and left/right direction is reversed for following.
  • The dancer is small and feet or hands are hard to see.
  • You only want a local detail and the full frame is distracting.

Suggested order: slow down first, then mirror; when you need detail, zoom and drag.

Timeline: find a move by picture and rhythm

The timeline is more than a progress bar. The red playhead stays fixed in the center. Drag thumbnails and waveform content so the target move reaches the playhead; when you need precision, pinch the timeline to stretch it.

OurDance User Guide
To find a later move, drag thumbnails and waveform left so the target reaches the red playhead.
OurDance User Guide
Pinch outward on the timeline. Thumbnails and waveform stretch, making beat-level positioning easier.

Coarse locate

Use the picture first to find the approximate section. Thumbnails help skip repeated or empty parts quickly.

Drag direction

The red playhead is fixed in the center. To find later movement, drag timeline content left; to go earlier, drag it right.

Pinch timeline

Pinch outward on thumbnails or waveform to lengthen the timeline. This is useful for musical accents, pauses, and transitions.

Stop precisely

After the playhead lands on the target move, pause to observe or slow speed down and play from a few seconds before it.

Marker: record an important time point

Marker is for noting 'pay attention here.' It is a time point for teacher notes, common mistakes, move entrances, or review locations.

OurDance User Guide
Add a Marker after stopping on a move. You can return to it quickly later.

Add Marker

  1. Drag or play to the position you want to remember.
  2. Pause and confirm the picture.
  3. Tap the Marker add button.

Good for

Move entrances, teacher reminders, rushed beats, missed beats, or direction mistakes.

Marker is a point. If you want to replay a short section repeatedly, use Loop.

Loop: turn a hard part into a repeatable section

Loop stores a start and end time. You can practice only 5 to 10 seconds, adjust the boundaries, and temporarily disable the loop without deleting it.

OurDance User Guide
Move the playhead near the hard part, then tap the bottom Loop button to create a loop.

1. Create Loop

  1. Move the timeline near the hard part.
  2. Tap the bottom Loop button.
  3. A purple Loop window appears on the timeline, and a matching Loop chip appears at the bottom.
OurDance User Guide
Drag the left or right edge of the Loop window to fine-tune start and end time.

2. Adjust boundaries

  1. Drag the left edge to choose where the loop starts.
  2. Drag the right edge to choose where it ends.
  3. Play it back and keep refining until the movement is covered.
OurDance User Guide
Tap the Loop icon in the timeline window to temporarily disable or restore that Loop.

3. Disable / restore from timeline

  1. The loop icon at the top-left of the Loop window is a switch.
  2. When disabled, the range is kept but playback will not loop there.
  3. Tap again to restore it.
OurDance User Guide
You can also tap the bottom Loop chip to disable or restore the same Loop.

4. Disable / restore from bottom chip

  1. When the Loop window is not centered in view, the bottom chip is faster.
  2. It controls the same Loop as the icon in the timeline.

Suggested order: create the Loop, adjust boundaries, disable it when you need the full video, and restore it when returning to the hard part.

Hide controls: focus on the video

When you only want to watch movement and do not want bottom controls in the way, hide the control panel. You can pull the handle down or tap the video. To restore, tap the video area or tap / swipe up from the bottom restore area.

OurDance User Guide
Method 1: drag the handle above the control panel downward. The panel follows your finger and slides to the bottom.

1. Pull down the handle

Use this when your finger is already near the bottom controls.

OurDance User Guide
Method 2: when controls are visible, tap the video to enter focused viewing.

2. Tap video to hide

Use this when you are watching movement and do not want to reach for the handle.

OurDance User Guide
Restore method 1: after controls are hidden, tap the video area to bring them back.

3. Tap video to restore

If you are still watching the same move, tap the video and continue adjusting speed, Marker, Loop, or timeline.

OurDance User Guide
Restore method 2: tap the bottom restore area, or swipe up from the bottom.

4. Tap bottom restore area

If you forget whether the video can be tapped, look for the small bar at the bottom. Tap it or swipe up to restore controls.

Hiding controls only changes the interface. It does not remove Markers, Loops, speed settings, or playback position. The large top-right play button still works while controls are hidden.

Crop: only watch the area you need

Crop narrows the viewing area. It is useful for focusing on dancers in a wide video, or on feet, arms, or other details in a vertical video.

OurDance User Guide
Drag the lower-right crop handle upward to narrow the frame around the practice area.

Open Crop

After entering Crop, drag the corner handles to frame the area you want to keep.

Watch after applying

The main view focuses on the selected area, better for feet, body weight, or formation.

Original video unchanged

Crop changes the practice viewing area. It does not rewrite the original video file.

Difference from zoom

Zoom is good for temporary inspection; Crop is good for making one area the default view for this practice session.

Apple Watch remote

During practice, the iPhone may sit on a stand or far away. Apple Watch provides light remote control: play, pause, return to the beginning, and view current status.

practice-video.mov 00:18
Play Start
This is the Watch remote interface, not an iPhone recording.

What Watch can do

  1. Show the current video name.
  2. Show playback state and current time.
  3. Play / pause.
  4. Return to the start of the current video.

What Watch does not do

  1. Import or choose videos.
  2. Adjust speed, mirror, Marker, or Loop.
  3. Replace the main iPhone practice screen.

Connection tip

If Watch shows disconnected, first confirm OurDance is running on iPhone and check the Watch-iPhone connection.

Practice advice

Place iPhone at a good distance and use Watch for playback control to avoid walking back and forth.

FAQ

These questions cover first use, missing controls during practice, and local video permission confusion.

What if a Files video cannot open next time?

Confirm the original file is still accessible. If it moved, was deleted, or has not synced from cloud storage, choose it again from Files.

What is the difference between Photos and Files import?

Photos is convenient for videos recorded on the phone. Files is better for organized local or cloud files. Both enter the same practice flow.

How do I restore controls after hiding them?

Swipe up from the bottom or tap the bottom restore area. After restoring, you can continue adjusting speed, Marker, Loop, and timeline.

Why did Loop not play as expected?

Confirm the Loop is not disabled and that start and end points cover the target section. If needed, drag playback back inside the Loop range before playing.

What is the difference between Marker and Loop?

Marker is a reminder point for 'pay attention here.' Loop is a time range for repeating the same short section.

What if Apple Watch says disconnected?

Confirm iPhone and Watch are connected and OurDance is running on iPhone. You can continue controlling from iPhone while practicing.

Will videos be uploaded to the cloud?

This guide covers the local practice flow. Video processing is primarily local. If cloud features are added later, they will be described separately.

How do I send feedback to the developer?

Describe the device, import source, video format, steps where the issue appears, and whether it repeats. Specific reports are easier to debug.